Docker File
Components used in a Docker File and Containerized Node.js and Python applications using a Docker file.

A Dockerfile is a text file that contains instructions for building a Docker image. These instructions define how to create a Docker container that runs a specific application or service.
Dockerfiles are used to automate the process of creating Docker images, which are portable, lightweight, and self-contained packages that include all the necessary dependencies to run an application.
“Once a Dockerfile is written, it can be used with the docker build command to create a Docker image. This image can then be used to create and run Docker containers, which are instances of the application or service defined in the Dockerfile.”
List of components and instructions commonly used inside a Dockerfile:
FROM:
Specifies the base image for your Docker image.
Example: FROM python:3.9WORKDIR:
Sets the working directory inside the container.
Example: WORKDIR /appCOPY:
Copies files or directories from the host machine to the container.
Example: COPY . /appADD:
Similar to COPY but with additional features like auto-extraction of compressed files.
Example: ADD ./source_folder /destination_folderRUN:
Executes commands during the image build process.
Example: RUN apt-get update && apt-get install -y curlCMD:
Specifies the default command to run when a container starts. You can only have one CMD in a Dockerfile.
Example: CMD ["python", "app.py"]ENTRYPOINT:
Specifies the default executable for the container. It can be overridden by specifying a new command when running the container.
Example: ENTRYPOINT ["java", "-jar", "myapp.jar"]EXPOSE:
Informs Docker that the container listens on specified network ports at runtime.
Example: EXPOSE 8080ENV:
Sets environment variables inside the container.
Example: ENV DEBUG_MODE=TrueARG:
Defines build-time variables that are accessible only during the build process, not in the final image.
Example: ARG VERSION=latestVOLUME:
Creates a mount point with the specified name and marks it as externally mounted.
Example: VOLUME /dataUSER:
Sets the user or UID to use when running the image.
Example: USER myuserHEALTHCHECK:
Defines a command to check the health of a running container.
Example: HEALTHCHECK --interval=5m --timeout=3s CMD curl -f http://localhost/ || exit 1LABEL:
Adds metadata to the image.
Example: LABEL maintainer="john@example.com"STOPSIGNAL:
Sets the system call signal that will be sent to the container to exit.
Example: STOPSIGNAL SIGTERMONBUILD:
Adds a trigger instruction to be executed at a later time, typically when another image is built using the current image as a base.
Example: ONBUILD ADD . /app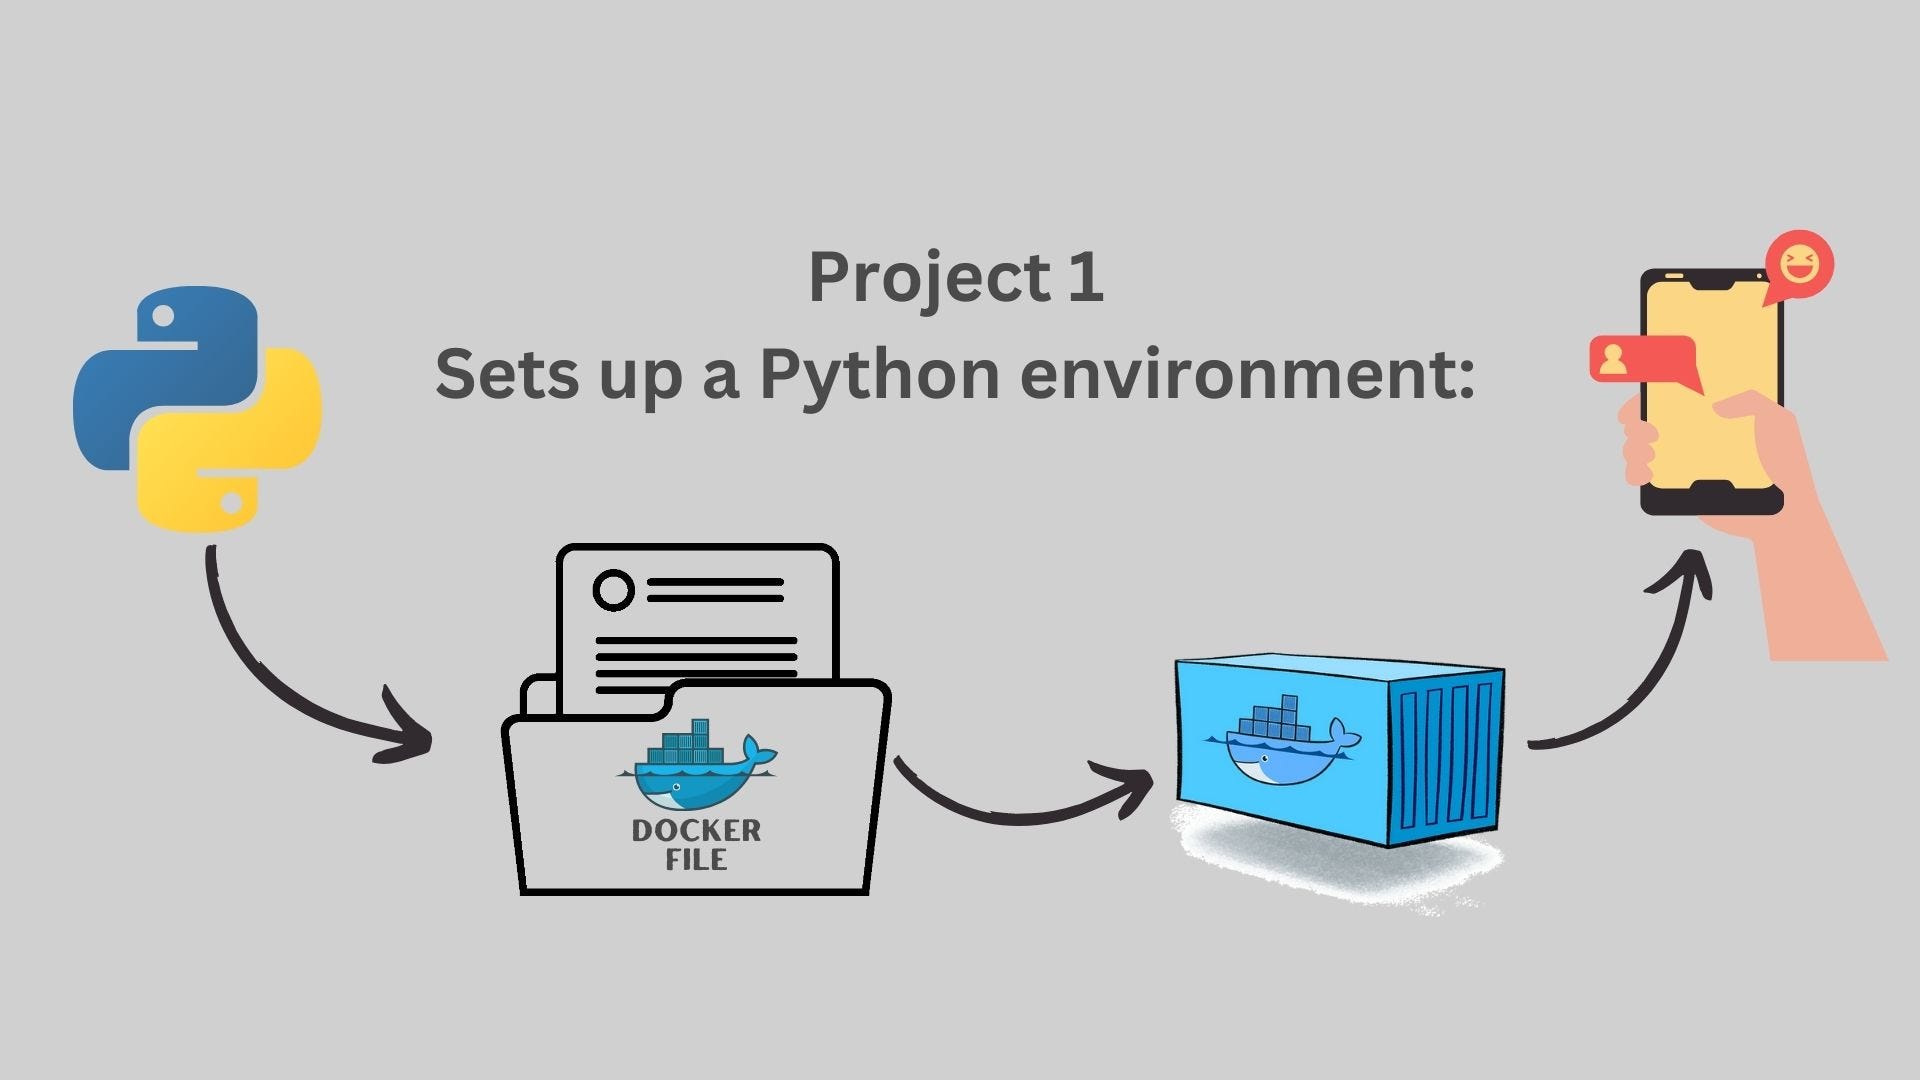
Installs dependencies, exposes port 80, sets an environment variable, and runs a Python script upon container startup.
Step 1: Set Up Your Project Directory
Create a directory for your project and navigate into it using your terminal or command prompt.
mkdir my_project
cd my_project
Step 2: Create Your Application Files
Create the necessary files for your application, such as source code files, configuration files, and any other resources needed.
touch app.pyStep 3: Write Your Dockerfile
Create a new file named Dockerfile in your project directory. Open it with a text editor and start writing the instructions for building your Docker image.
# Use an official Python runtime as the base image
FROM python:3.9

# Set the working directory in the container
WORKDIR /app

# Copy the current directory contents into the container at /app
COPY . /app

# Install any needed dependencies specified in requirements.txt
RUN pip install --no-cache-dir -r requirements.txt

# Make port 80 available to the world outside this container
EXPOSE 80

# Define environment variable
ENV NAME World

# Run app.py when the container launches
CMD ["python", "app.py"]
Step 4: Build Your Docker Image
In your terminal, navigate to the directory containing your Dockerfile and other project files, then use the docker build command to build your Docker image.
docker build -t my-app .Step 5: Run Your Docker Container
Once your Docker image is built, you can use the docker run command to run a container based on that image.
docker run -p 8080:80 my-appStep 6: Access Your Application
If your application exposes any ports, you can access it using the mapped port on your host machine. For example, if your application runs a web server on port 80 and you mapped to port 8080 on your host to port 80 in the container, you can access the application by navigating to http://localhost:8080 your web browser.
That’s it! You’ve now successfully created a Dockerfile, built a Docker image, and run a Docker container based on that image

Use a Dockerfile to containerize it
Step 1: Set Up Your Project Directory
Create a directory for your new project and navigate into it.
mkdir my_node_project
cd my_node_project
Step 2: Create Your Application Files
Create the necessary files for your Node.js application. For this example, we’ll create a simple Express.js server.
npm init -y
touch index.js
Step 3: Install Dependencies
Install Express.js as a dependency for your application.
npm install expressStep 4: Write Your Application Code
Open index.js with a text editor and write a simple Express.js server.
// index.js
const express = require('express');
const app = express();
const PORT = process.env.PORT || 3000;

app.get('/', (req, res) => {
  res.send('Hello, Docker!');
});

app.listen(PORT, () => {
  console.log(`Server is running on http://localhost:${PORT}`);
});
Step 5: Create Your Dockerfile
Create a new file named Dockerfile in your project directory and define the instructions for building your Docker image.
# Use an official Node.js runtime as the base image
FROM node:14

# Set the working directory in the container
WORKDIR /app

# Copy package.json and package-lock.json to the working directory
COPY package*.json ./

# Install Node.js dependencies
RUN npm install

# Copy the rest of the application code to the working directory
COPY . .

# Expose port 3000 to the outside world
EXPOSE 3000

# Define the command to run the application
CMD ["node", "index.js"]
Step 6: Build Your Docker Image
Navigate to the directory containing your Dockerfile and other project files, then build your Docker image.
docker build -t my-node-app .Step 7: Run Your Docker Container
Once your Docker image is built, run a container based on that image.
docker run -p 3000:3000 my-node-appStep 8: Access Your Application
Access your Node.js application by navigating to http://localhost:3000 in your web browser. You should see the message "Hello, Docker!" displayed.
That’s it! You’ve successfully created a Dockerfile, built a Docker image, and run a Docker container for your Node.js application
If there’s a specific topic you’re curious about, feel free to drop a personal note or comment. I’m here to help you explore whatever interests you!
Git Hub : github.com/nidhi-ashtikar
Thanks for spending your valuable time learning to enhance your knowledge!